How-to: Key match your own yakima locks
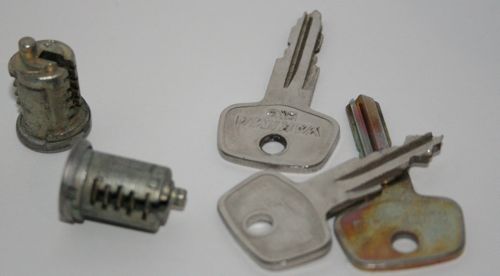
Yakima makes some handy roof racks, but personally, I think that they charge way to much for their matching lock cores. Luckily, you can modify the cores that come with the gear to match on your own. It’s a quick, easy project and it’ll make your key ring smaller. Read on to find out how.
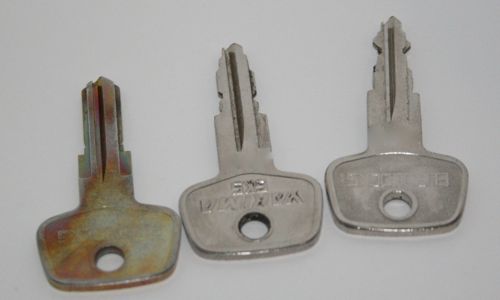
The left is a Yakima sks key blank that’s used to install and remove lock cores on Yakima gear. When you buy a set of lock cores, you’ll get on of these in the box. The other two are in the shot for comparison. (One is the original core key.)
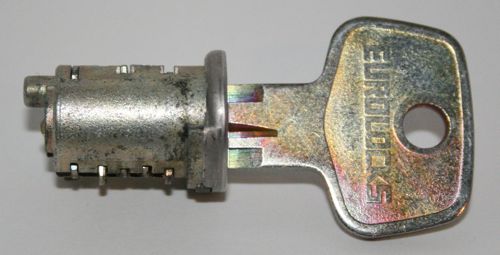
To remove the lock core, you can use the blank key above. Optionally, you can drop by a yak dealer and have them pull it for you or you can use a lock pick to snag the final tumbler and pull it.
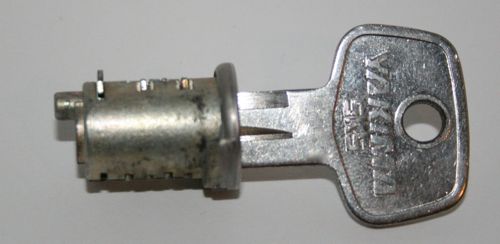
This is the key that matches the lock core I needed to modify. Each of the tumblers moves to match the sides of the lock core. We’ll need to make them do the same for the new key. The last tumbler is actually the lock core retainer. Leave that one alone.
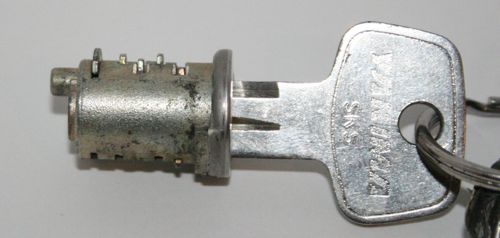
This is the same core with the key I want to make work with it. There are two tumblers that will need to be ground down on the top and a single bottom tumbler that needs modification.
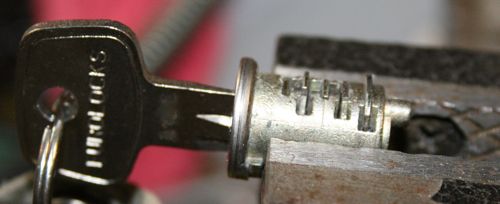
Put the lock and key into a vise to hold everything steady.
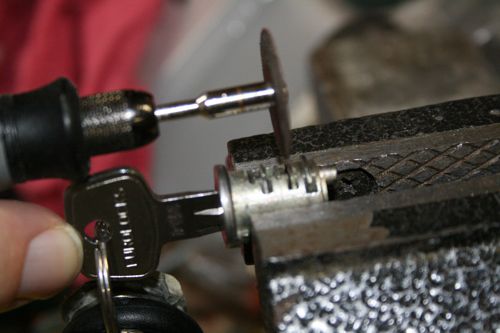
Now grab your dremel tool with a cutting wheel. Grind the protruding tumblers down to match the edge of the lock core.
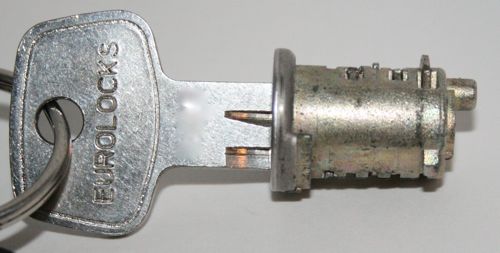
Here’s the lock core after grinding. There’s a small protrusion on one tumbler, but everything will be fine.
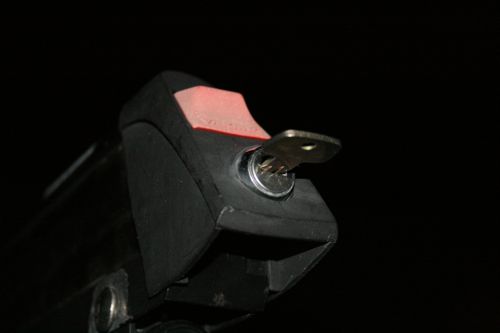
Installing the modified core is the opposite of pulling it. Insert the key blank, insert the core and remove the blank while holding the core in place.
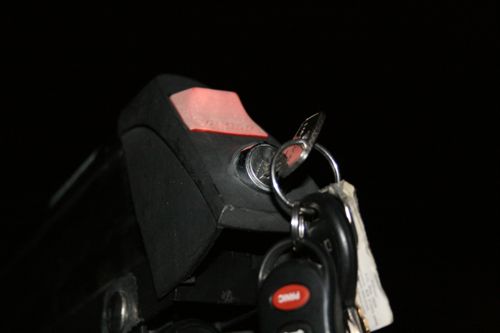
Now test out the modified lock. The new key works perfectly. Now, use the extra cash you saved to buy some new gear or some gas for that next adventure.