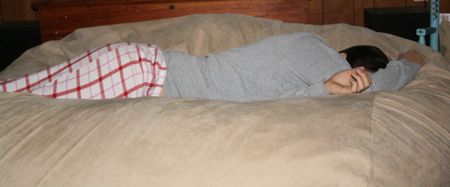
Earlier this year, I got the chance to add a Sumo Sac to my family room. It’s essentially a gigantic beanbag filled with an entire couch (sans wood chips). My model weighs in at a mere 60 lbs. When it’s stretched out, it’s absolutely huge. Virtually everyone who sees it immediately tries to jump on it. (Even forty year old computer programmers)
The sac arrived unceremoniously on my doorstep with a fedex tag attached. After dragging it across the floor I let it roll downstairs to my basement lair. I immediately regretted this, as I realized that any small creatures in the way would have been crushed, deep fried and made to resemble a spider roll at the sushi place.
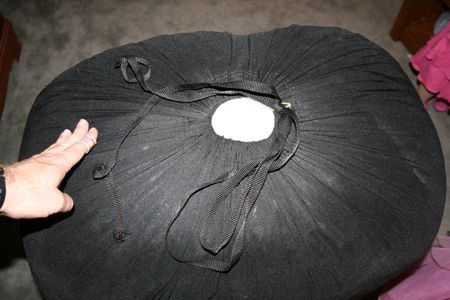
Inside the shipping bag, I discovered the actual sumosac wrapped inside a plastic bag. (They package the sac for delivery by dropping inside the plastic bag and vacuum packing it to get the size to a manageable shape.)
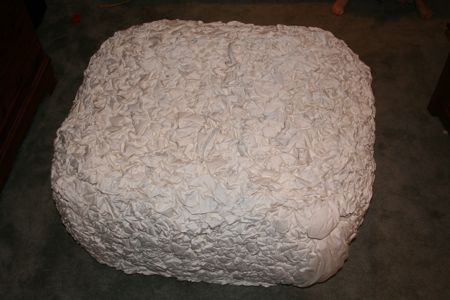
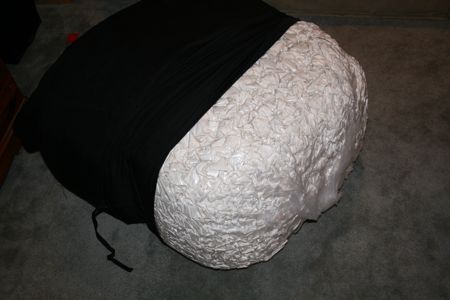
Totally unwrapped, the bag looked alot like a giant piece of tofu. From there, the waiting began.
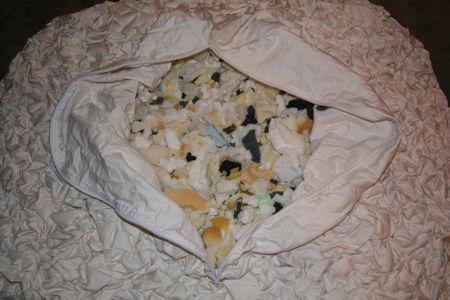
The sac took a few days to mostly expand, and a good week in my colder basement to fully expand. While I was waiting, I decided to check out what was inside the bag. Instead of traditional foam beans, they chose to use shredded urethane foam – essentially the same as shredded couch cusions.
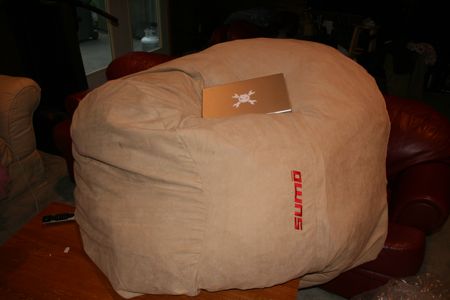
After a few days, the Sac had mostly expanded, but quite a bit of the foam was still stuck together. I put my 15 inch powerbook g4 in the shot for scale. (That would be a full size couch hiding behind it.)
After a couple of weeks of use, the full size of the bag becomes apparent. (My wife is about 5’9″) to give you an idea. If you’ve got the space for something this big, I suggest picking one up. It’s great for watching movies, playing video games or cushioning your fall from a 5 story building. (don’t try that at home, kids)
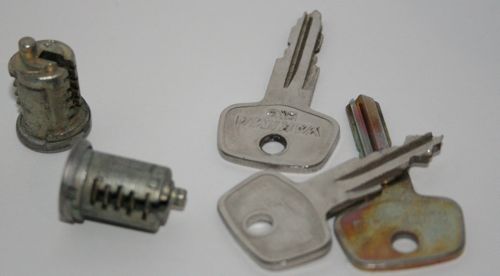
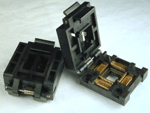 Most ZIF sockets aren’t exactly cheap, but TQFP sockets are in the range of insanely stupid pricing. I’m pondering a TQFP programmer that I can pop the chips into, but most of these little guys are $150 or so. I asked Bunnie, one of the more hardware savvy people I’ve met about it – and he came up with a place that has them for a mere $50. $60 if you want the clamshell stye. Given the hours of searching I put into it, I thought I’d share this one.
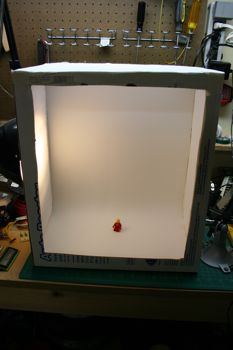
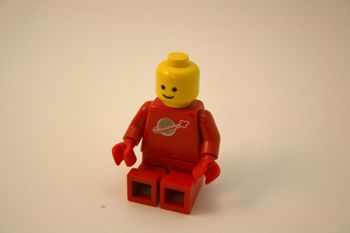 I finally got around to building a fairly small photo box for lighting small project pieces. This little guy was shot inside the box with pretty cruddy lighting. I upped the levels a bit, but for a first try with just florescent light, I’m happy.